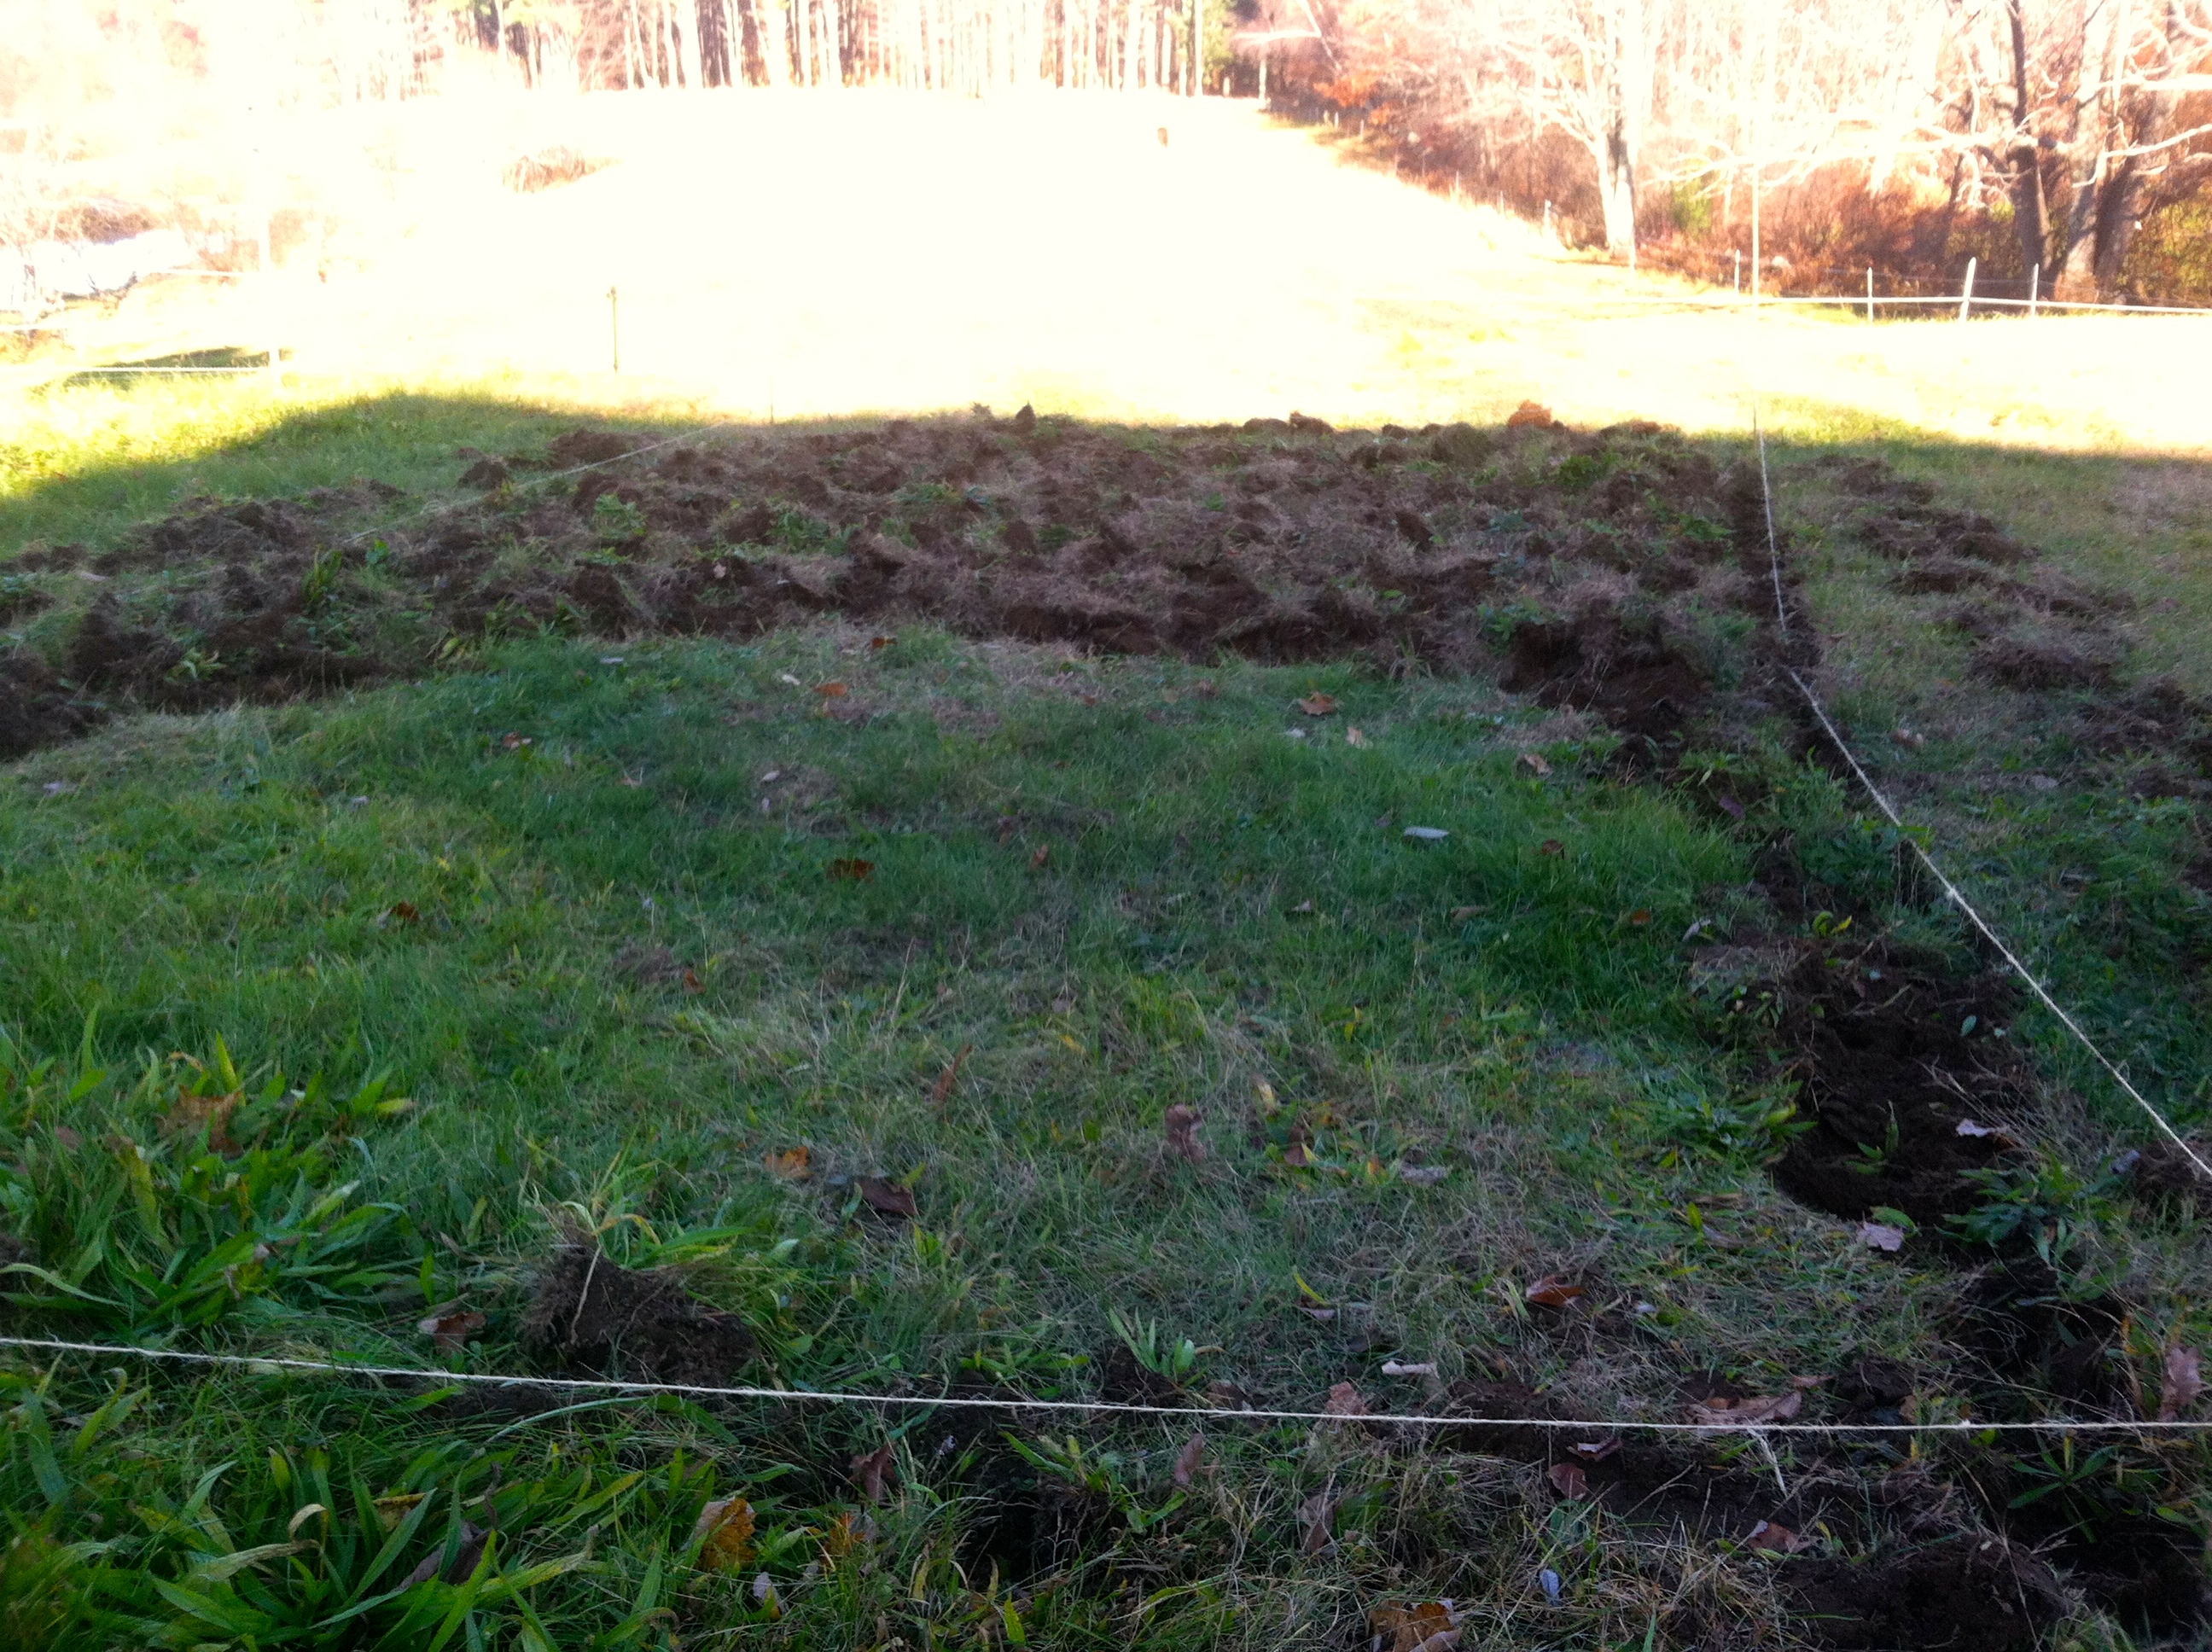
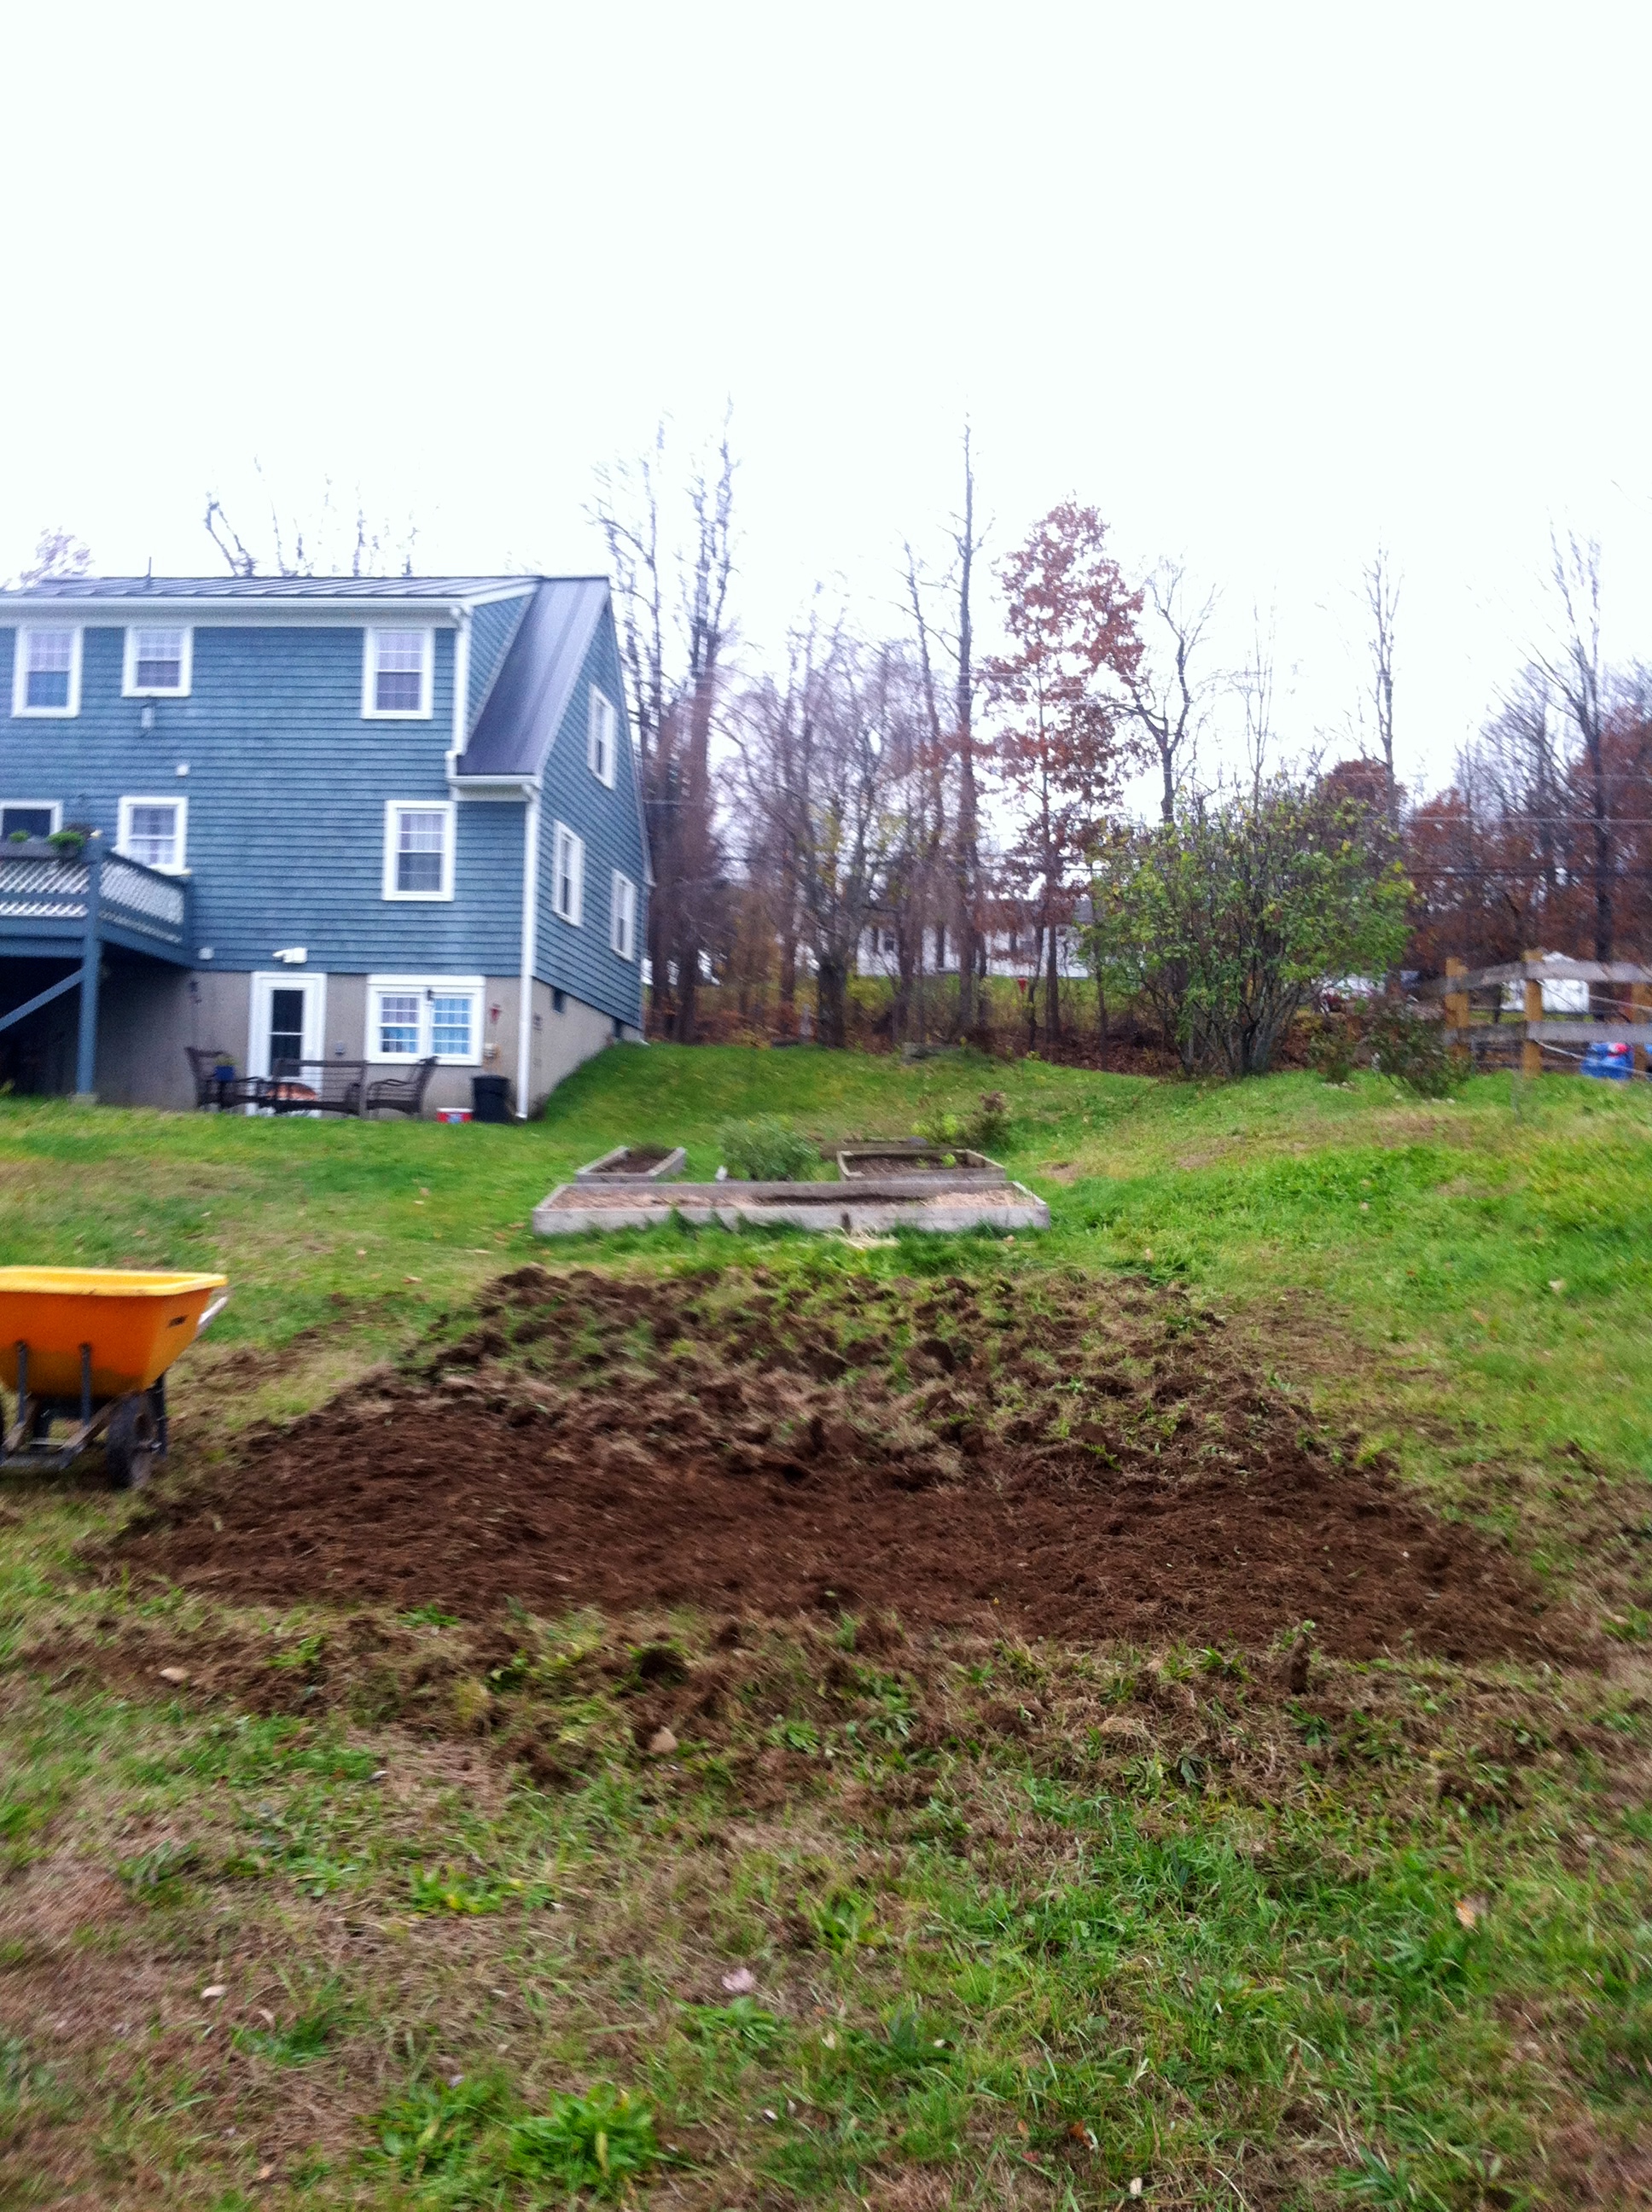
I decided this year that my current garden plot was too small for the amount of herbs and vegetables I want to try my hand at. The first year I was here I constructed and utilized two small raised beds. The next year, after acquiring some free lumber from a neighbor in town, I added a larger vegetable bed and two new narrow herb beds. This year I decided to go big. I sketched out a plot and instead of planning with lumber, I opted for the directly into the earth concept! Novel? Not at all…but new to me.
Lesson one: preparing a site for an in-ground garden is WAY more work than preparing a site for a raised bed!
Lesson two: if you don’t own a rototiller…find a friend (heck, make a new friend) that has access to one!
Lesson three: if you can handle the labor, the end result is pretty darn impressive. And empowering!
So here’s my super quick how-to prep a garden site without machinery guide!
Step One: Pick your location. Plants like sun. They also like drainage. Be sure to pick a flat location in your yard that offers both of these. Drainage you can amend but finding a sunny location (I’m talking, no less than 6 hours of direct sunlight) is imperative for most herbs and vegetables.

Step Two: Outline your perspective bed. I used tomato stakes and some old chord and played around with location and dimensions. Keep in mind how much you’re planning on growing. Less is sometimes more. Make sure you are able to get water to this location. Hauling water is less than ideal and if your plot isn’t easily accessible, you’re not going to be as eager to visit it.
Step Three: Dig in, literally! Start spading around the perimeter following your outline. Push and flip, and really make sure you’re getting the roots out. The harder you work now, the less work you’ll have come Spring! The end result will look like a mole upheaved a very particular portion of your lawn and your back will probably be letting you know that you invested some energy into that plot. Bend at the waist and let gravity feed your shovel. Oh. And wear boots that have a hard sole as arch bruises are slow to heal and fairly preventable!

Step Four: Remove all that turf! It’s going to be heavy and it’s going to be labor intense. Take your time. This isn’t a race! I used a wheelbarrow and shook out as much dirt as I could so that each load wasn’t overly heavy. This turf will make for good compost in the future if you have a site to dump it. Otherwise, kick it to the edge of your yard and allow nature to break it down.

Step Five: When you’re done removing all that grassy sod (and wondering why on Earth you thought doing this without the aid of a machine was a good idea) it’s time to get your soil tested. All soil can be amended. Contact your local Extension office and get a sample in the mail. While waiting for your results, collect wood ash, fallen leaves, and any manures you have access to (chicken, cow and seasoned horse manure are great options if locally available). These can be used as your compost materials in addition to any purchased soils you may need for a successful foundation.
Step Six: Till that plot and cover it up. Unless you are planting a cover crop in your newly amended garden bed, cover it. Cover it with chipped leaves, with straw, with an old rug or tarp…cover it so that you don’t end up harvesting weeds come early Spring.
Step Seven: You’re done! You have just schemed, dreamed and created a future plot! Now that it has been put to bed for the coming winter, get out your notebook and start planning what you’re going to plant and where you’re going to put it in your new, handmade, in-ground garden. You are a warrior! Well done! Happy growing!
